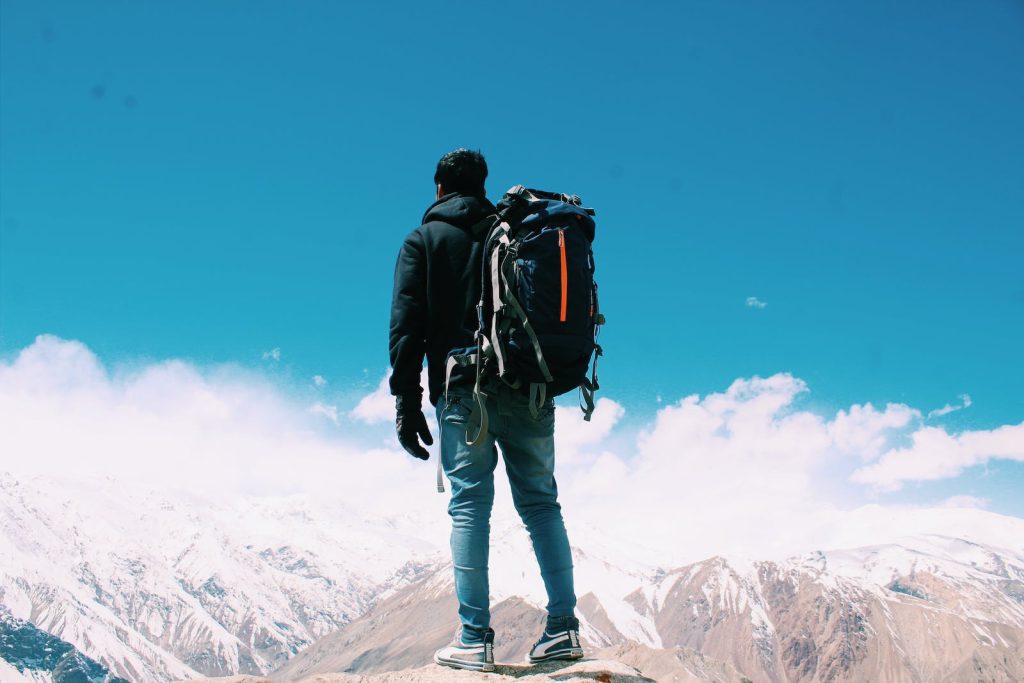
Breaking in Hiking Boots: A Step-by-Step Guide for Optimal Comfort
Are you ready to embark on an exhilarating hiking adventure, but dreading the thought of painful blisters and uncomfortable feet? Look no further! Our step-by-step guide is here to rescue your soles (literally) and ensure blissful comfort as you conquer new trails. Say goodbye to those dreaded break-in woes, because we’re about to unveil all the secrets that will take your hiking experience from average to extraordinary.
Whether you’re a seasoned hiker or just getting started, these tried-and-true tips for breaking in your hiking boots will have you stepping confidently into nature’s playground in no time – without sacrificing an ounce of comfort along the way. Lace up, adventurers; it’s time to hit the trail like never before.
Introduction

A good pair of hiking boots is essential for any hiker. But how do you make sure your hiking boots are broke in and comfortable before hitting the trail?
Here’s a step-by-step guide to breaking in hiking boots for optimal comfort:
1] Start with clean, dry boots. Make sure there is no dirt or grime on the inside or outside of the boot – this can irritate your skin and cause blisters.
2] If your boots are new, start by wearing them around the house for an hour or two each day. This will help the leather conform to your feet and loosen up any tight spots.
3] Once you’ve worn them around the house for a few days, it’s time to take them out on the trail! Start with shorter hikes and gradually increase the distance as your boots continue to break in.
4] Be sure to stop and rest often when breaking in your new boots – this will give your feet a chance to adjust to the new shoes and prevent blisters from forming.
5] After a few hikes, your boots should be well-broken in and comfortable – enjoy your hike!
Reasons to Break in Hiking Boots
Hiking boots are a necessary evil for any serious hiker. They can be stiff, uncomfortable, and difficult to break in. However, there are several reasons why it’s important to break in your hiking boots before hitting the trail.
1] To avoid blisters and other foot problems. Breaking in your hiking boots will help to mold them to the shape of your feet and make them more comfortable to wear. This will help to prevent blisters and other foot problems that can occur when wearing ill-fitting shoes.
2] To improve your hiking performance. Wearing properly fitting and comfortable hiking boots will help you hike faster and farther with less effort. This is especially important if you’re planning on undertaking any long-distance hikes.
3] To protect your feet from injury. Wearing well-fitting and broken-in hiking boots will provide support for your feet and help protect them from potential injuries that can occur when wearing ill-fitting shoes or shoes that haven’t been broken in properly.
Breaking in your hiking boots doesn’t have to be a painful process. With a little time and effort, you can have a pair of comfortable, well-fitting hiking boots that will serve you well on all of your adventures.
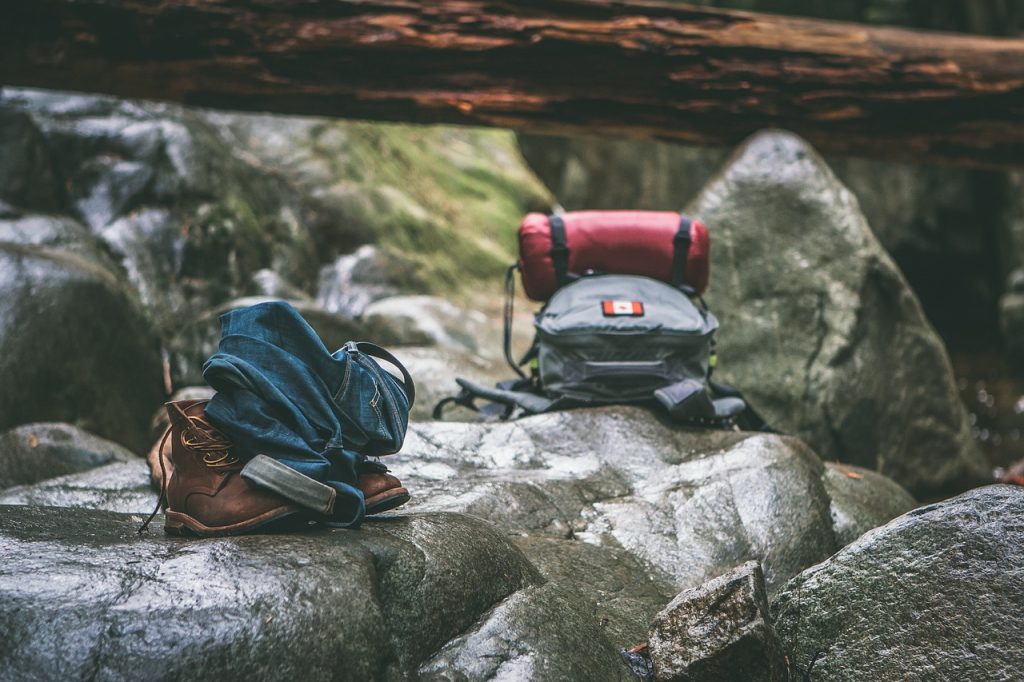
Preparation for Breaking in Your Boots
If you’re new to hiking, or have never broken in a pair of hiking boots before, the process can seem daunting. But don’t worry – we’ve got you covered! In this article, we’ll walk you through everything you need to know about breaking in your boots, from how to choose the right pair to how to properly care for them.
Choosing the right pair of boots is essential for comfortable hikes and avoiding blisters. Look for a boot with a good fit that doesn’t pinch or rub anywhere. Once you’ve found the perfect pair, it’s time to start breaking them in!
The best way to break in your boots is to wear them around the house for short periods of time at first. This will help them mold to your feet and loosen up any stiff areas. You can also try wearing them on short walks or hikes before tackling longer trails.
Once your boots are broken in, be sure to clean and dry them after each hike. This will help extend their lifetime and keep your feet comfortable on future adventures!
Step by Step Guide for Breaking in your Boots
Assuming you have already purchased the perfect fitting hiking boots, it’s time to break them in so they are comfortable for extended use on the trails.
Here is a step-by-step guide for breaking in your new hiking boots:
1] Start by wearing your new hiking boots around the house and on short walks. This will help get them molded to your feet and will also give you a chance to see how they feel and if there are any areas that are particularly uncomfortable.
2] Once you’ve worn them around for a bit, it’s time to take them on a hike! Start with a shorter hike to ease into things and see how your feet feel after walking in them for awhile.
3] If everything feels good, then go ahead and take them on a longer hike or even an overnight backpacking trip. Be sure to pay attention to how your feet feel during and after these hikes – if you start to experience pain or blisters, then take a break and give your feet some time to recover before heading out again.
4] After a few hikes, your new hiking boots should be well broken-in and ready for anything! Enjoy all the comfort and support they provide on future adventures.
Additional Tips for Breaking In Hiking Boots

-If you find that your hiking boots are still a bit stiff after following the breaking in process above, try this: Sleep in your boots. Yes, really! This will help to soften them up and break them in even more. Just be sure to stuff them with newspaper so they keep their shape.
-Another way to help break in hiking boots is to treat them with a waterproofing agent like beeswax or silicone spray. This will help to condition the leather and make it more pliable, which will make breaking them in a lot easier.
-One final tip for breaking in hiking boots is to take them out on short hikes before embarking on a longer backpacking trip. This will help you get a feel for how they fit and how they’ll hold up on the trail.
When to Replace Your Hiking Boots
It’s important to know when to replace your hiking boots. Worn-out or outdated footwear can cause serious foot problems, including blisters, calluses, and bunions.
Here are some signs that it’s time for new boots:
- The soles are worn down and no longer provide adequate traction or support.
- The uppers are torn or stretched out.
- The padding has lost its shape and doesn’t provide enough cushioning.
- There are cracks in the leather.
If you’re unsure whether your boots need to be replaced, take them to a qualified boot fitter or shoe repair person for an evaluation.
Common mistakes when breaking in hiking boots
One of the most common mistakes people make when breaking in hiking boots is not taking enough time to do it. rushing the process can result in blisters, discomfort, and even permanent damage to your feet.
Another common mistake is not using the proper breaking-in technique. Many people think that simply wearing their boots around the house for a few hours each day will suffice. However, this isn’t always the case. Depending on the type of boot you have, there are specific methods for breaking them in correctly.
Not paying attention to your sock choice is another big mistake. Wearing the wrong type of socks can cause blisters and rubbing, which will only make the breaking-in process more difficult. Be sure to choose a breathable, moisture-wicking sock that will keep your feet dry and comfortable.
One of the most common mistakes people make when breaking in hiking boots is not using boot inserts or insoles. Boot inserts provide extra cushioning and support, which can help prevent pain and discomfort during the breaking-in process.
Conclusion
Breaking in hiking boots should no longer be a daunting task for any hiker. This guide provides a step-by-step approach to preparing your new pair of hiking boots for a long adventure, and should help you properly break them in and provide the optimal comfort during your hike. Now that you’re armed with this knowledge, all that’s left is to get out there and enjoy the view!
Recent Posts
- Best Hiking Backpacks: A Comprehensive Review
- How to Choose the Perfect Hiking Backpack?

- Gear Spotlight: Must-Have Hiking Equipment for Every Adventure

- Alpine Adventures in Rocky Mountain National Park

- A Hiker’s Haven: Shenandoah National Park Trails Unveiled

- Exploring the Grandeur of the Grand Canyon: A Hiker’s Guide
- Fall Foliage Hikes: Chasing Autumn Colors on the Trails
- Summer Sun and Summit Trails: Conquering Peak Adventures